Table of Contents
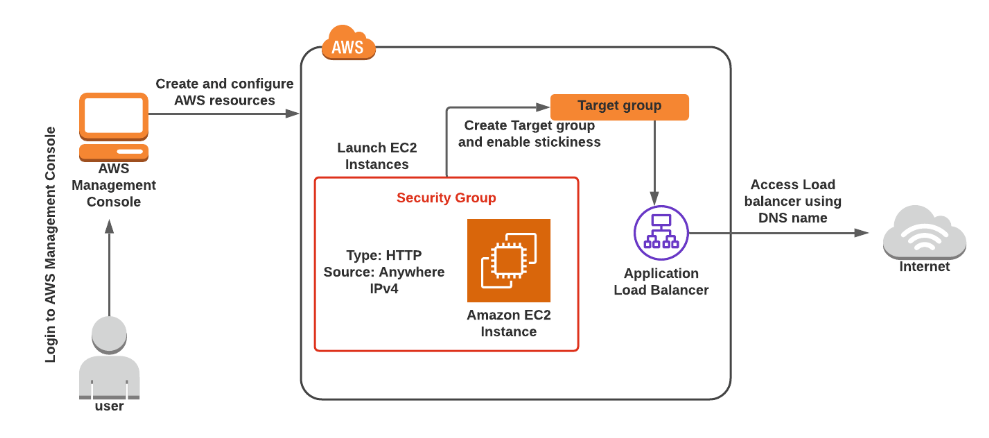
Architecture Diagram
Step-By-Step Guide
Step 1. Create a Security Group for the load balancer and EC2 Instance
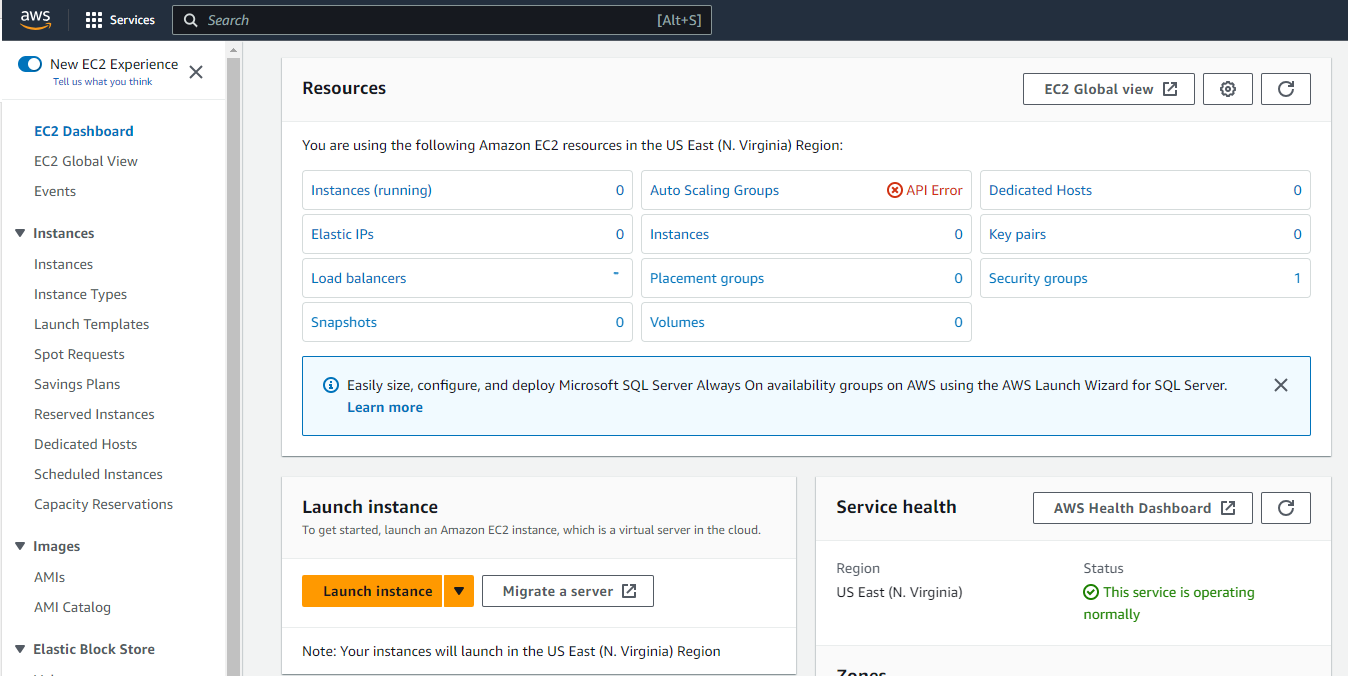
a. Sign in to AWS Console and search for EC2
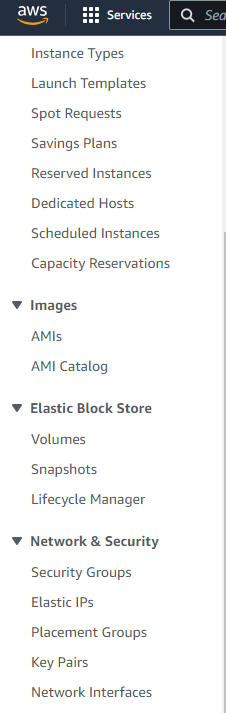
b. Navigate to Network & Security > Security Groups
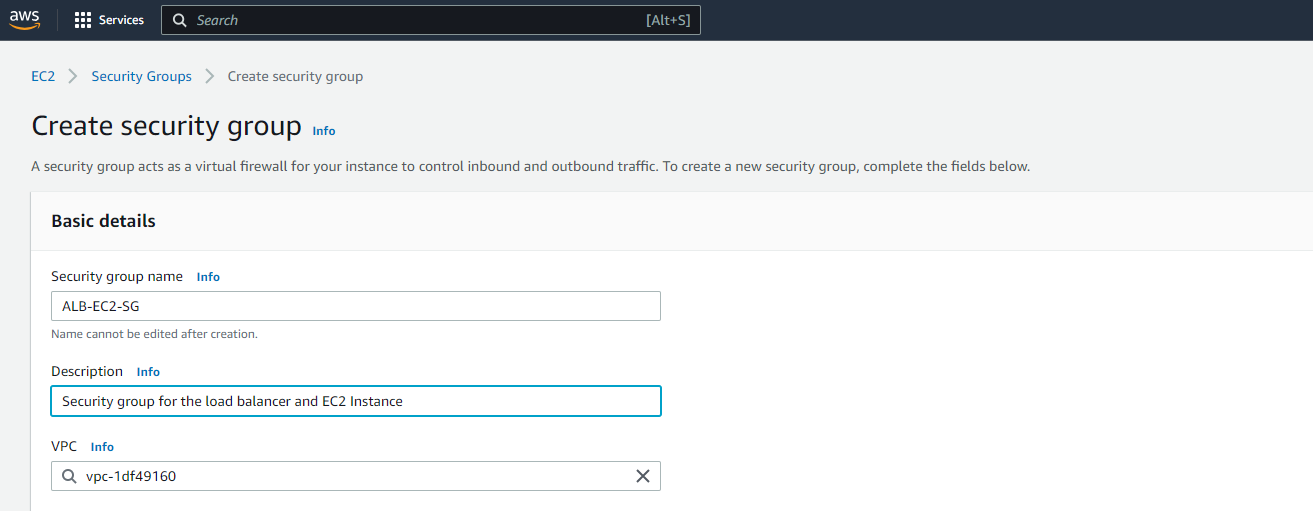
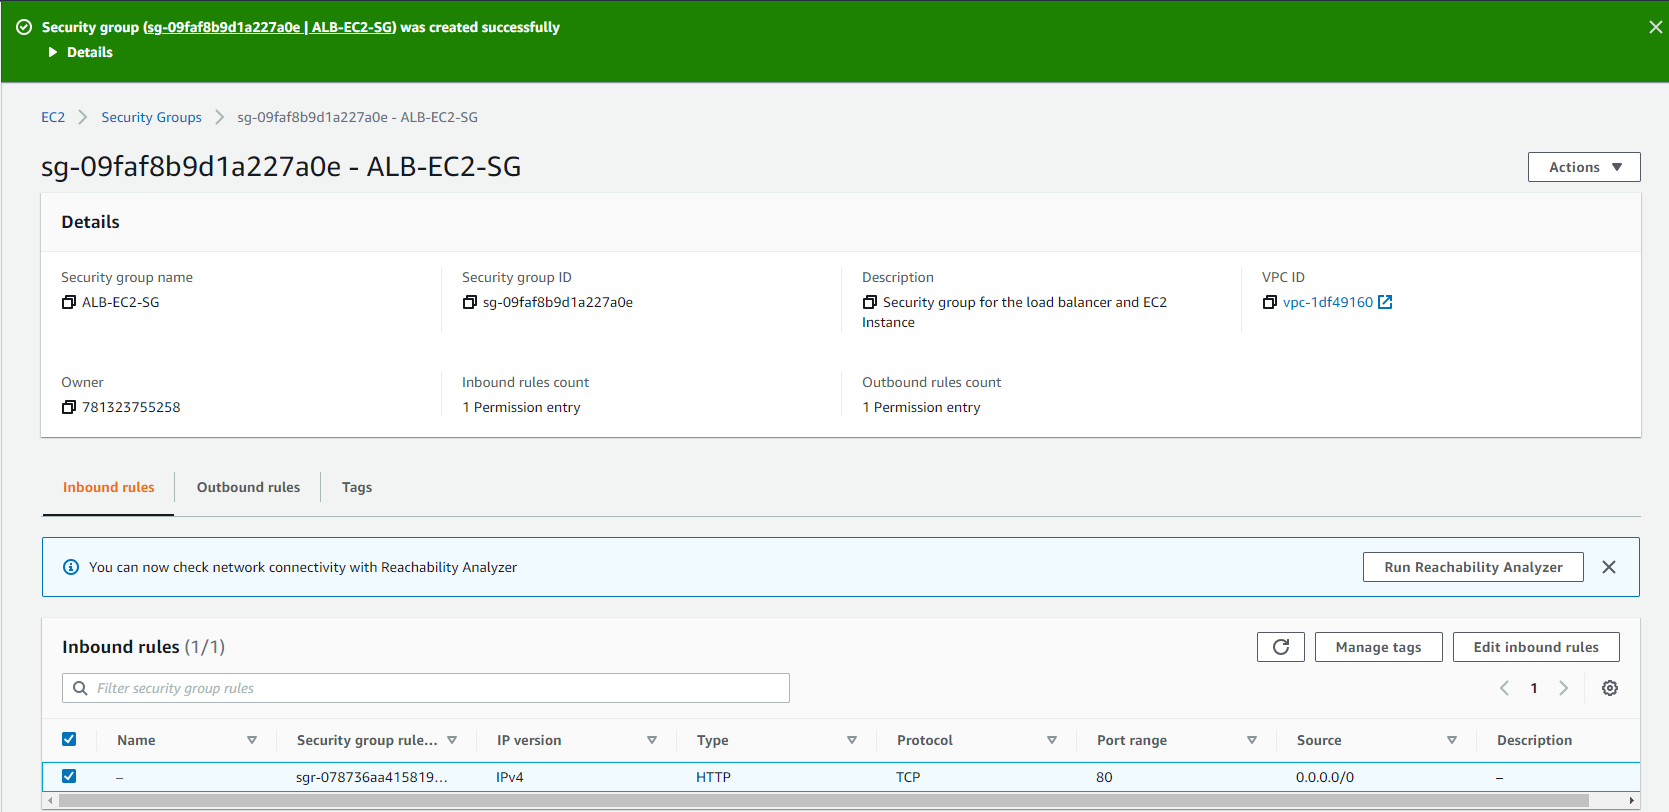
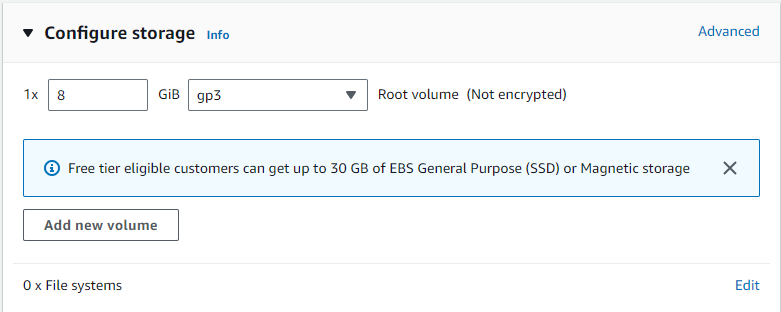
c. Create a security group using the following configurations
- Name: ALB-EC2-SG
- Description: Security group for the load balancers and EC2 Instance
- Select default VPC
d. Add an Inbound Rule to allow HTTP traffic on port 80 from Anywhere
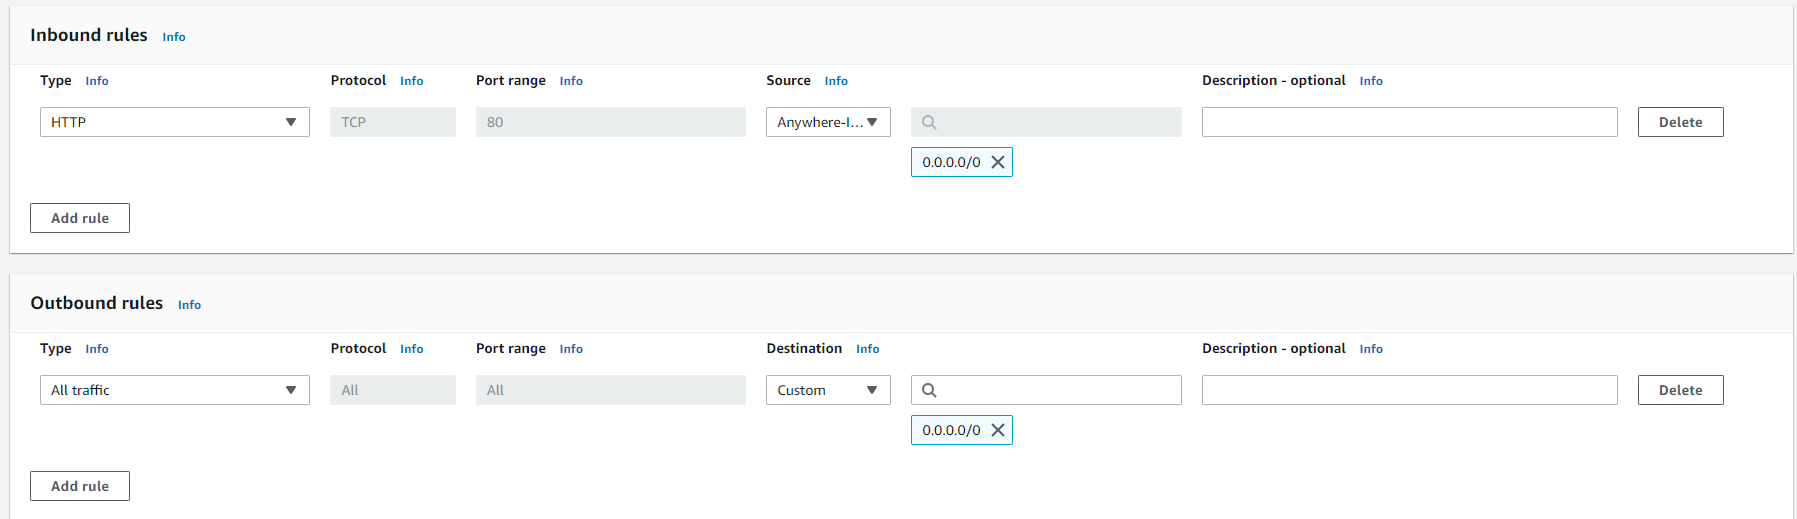

e. Click on the Create Security Group Button
Step 2. Launch 2 EC2 Instances
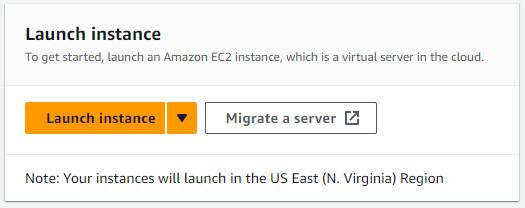
a. In the left-hand side panel, navigate to Instances > Instances and click on the Launch Instance Button
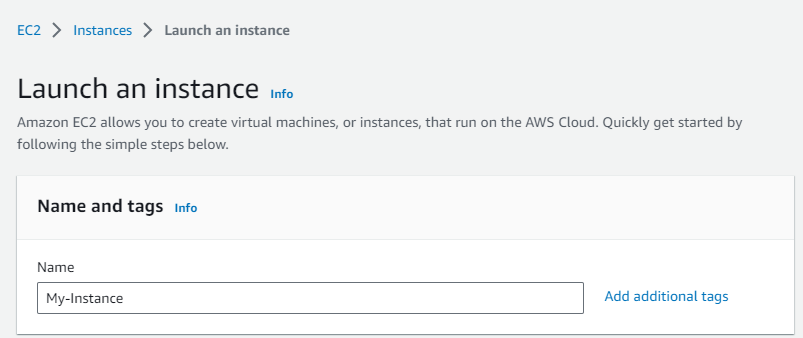
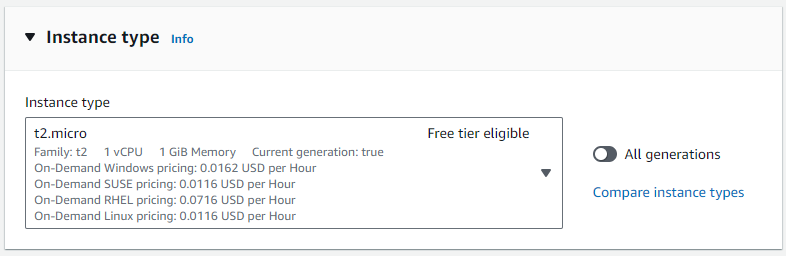
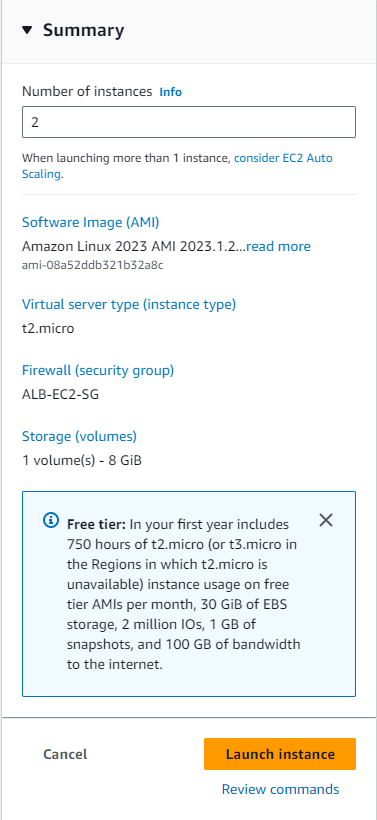
b. Use the following configs
- Name: My-Instance
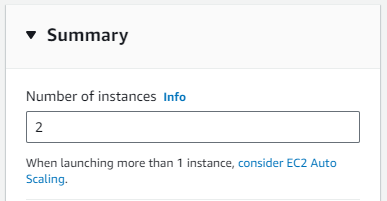
- Summary > Number of instances: 2

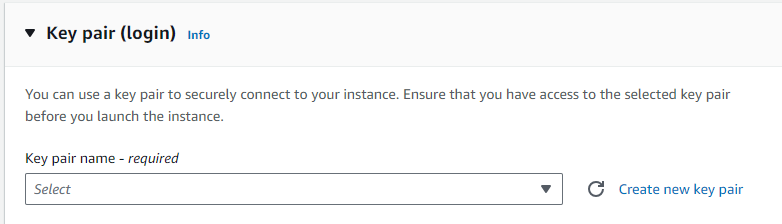
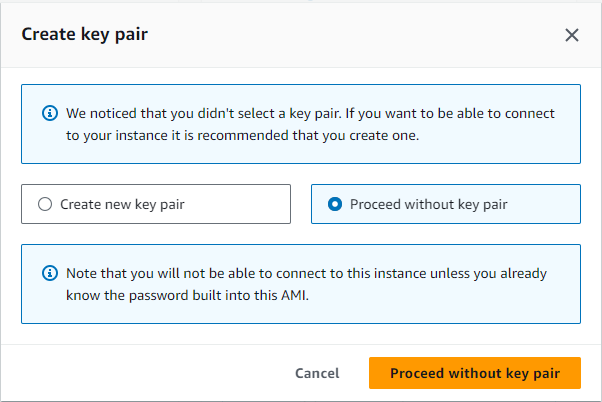
c. Do not create a Key pair; it is not needed. Proceed without key pair
d. In the Network Settings, select the following:
- Default VPC
- The subnet in the Availability Zone: us-east-1a
- Auto-assign public IP: enable
- Select existing security group and
- select ALB-EC2-SG from the dropdown list

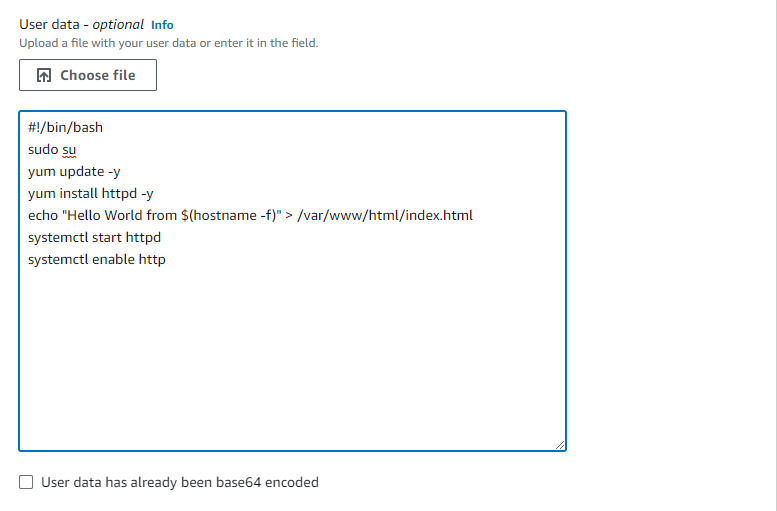
e. In User data, under the Advanced Details section add the following statements
|
1 2 3 4 5 6 7 |
#!/bin/bash sudo su yum update -y yum install httpd -y echo "Hello World from $(hostname -f)" > /var/www/html/index.html systemctl start httpd systemctl enable httpd |
f. Click on the Launch Instance Button

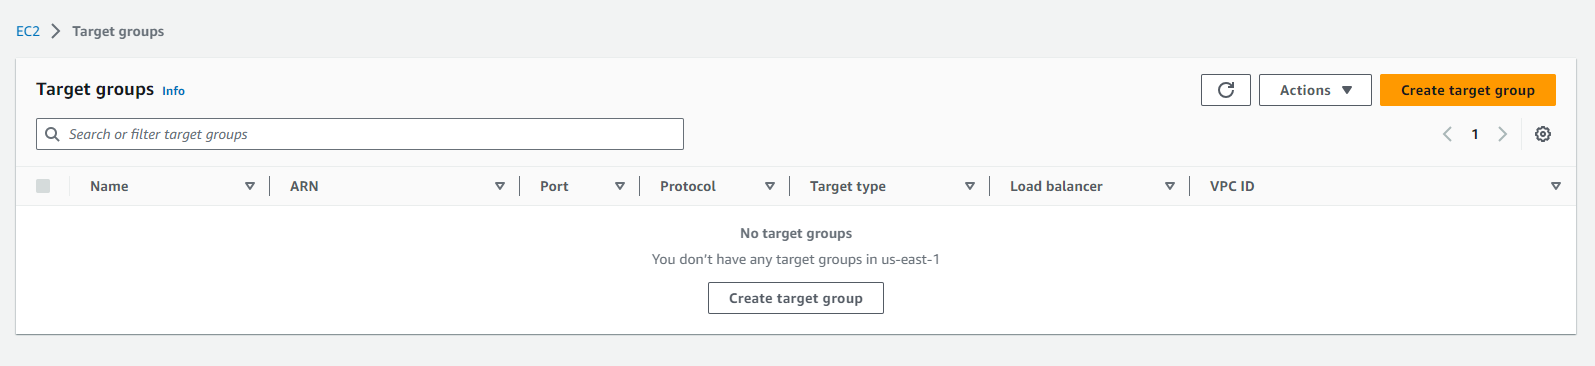
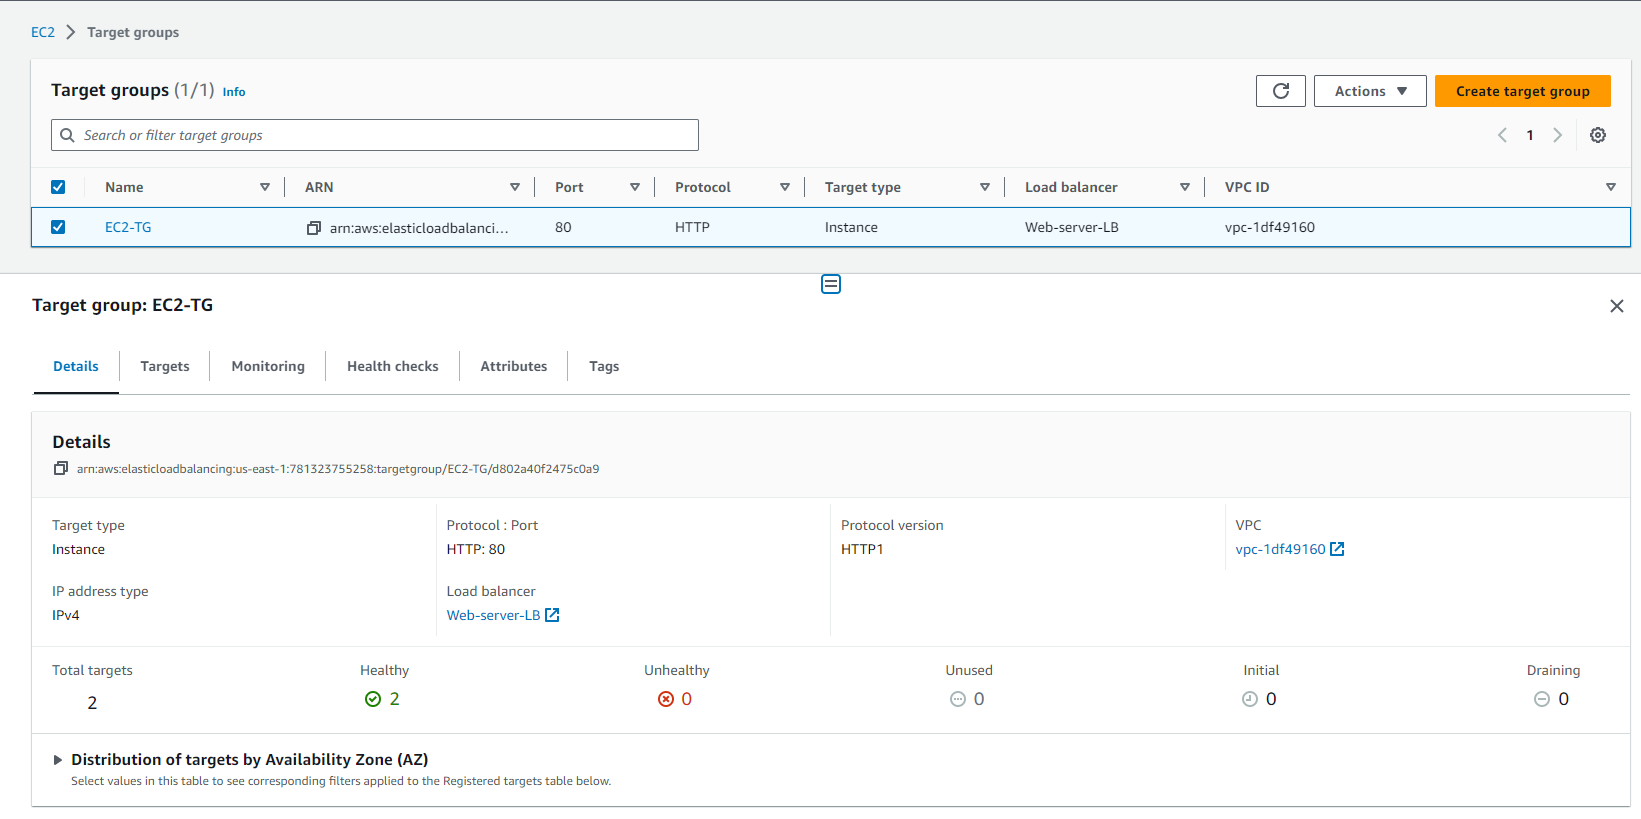
Step 3. Create target group and application load balancer
a. Navigate to EC2 > Load Balancing > Target Groups and click on the Create target group button
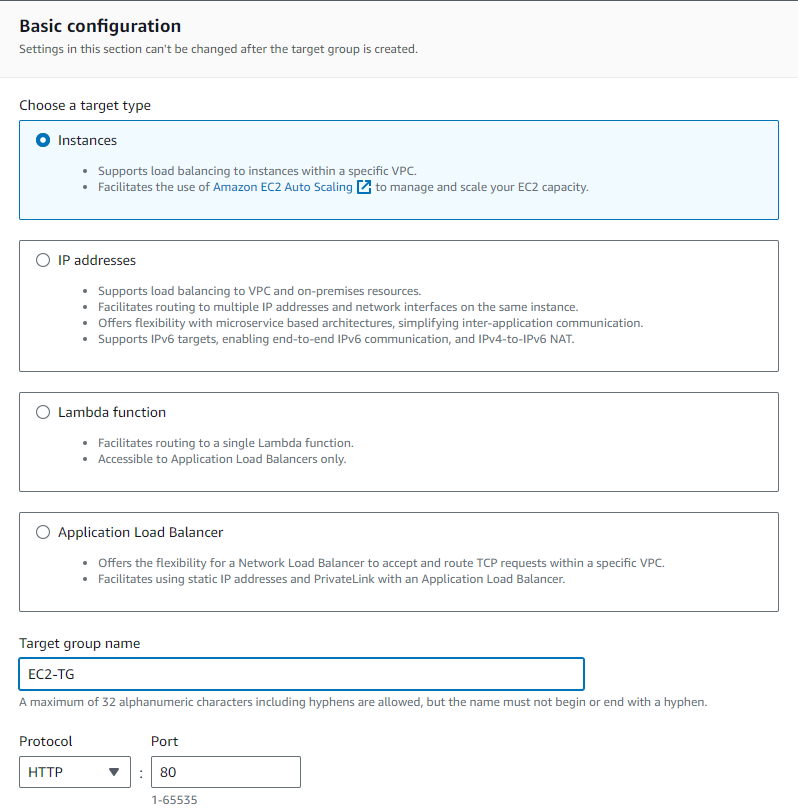
b. Create a target group using the following config
- Target Type: Instances
- Name: EC2-TG
- Protocol: HTTP
- Port: 80
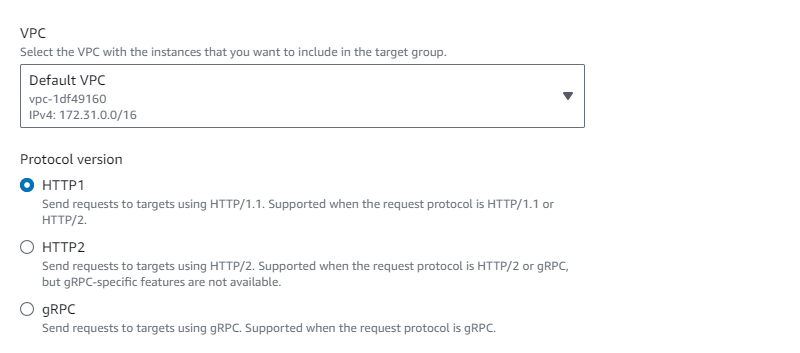
c. Select Default VPC and Protocol Version: HTTP1
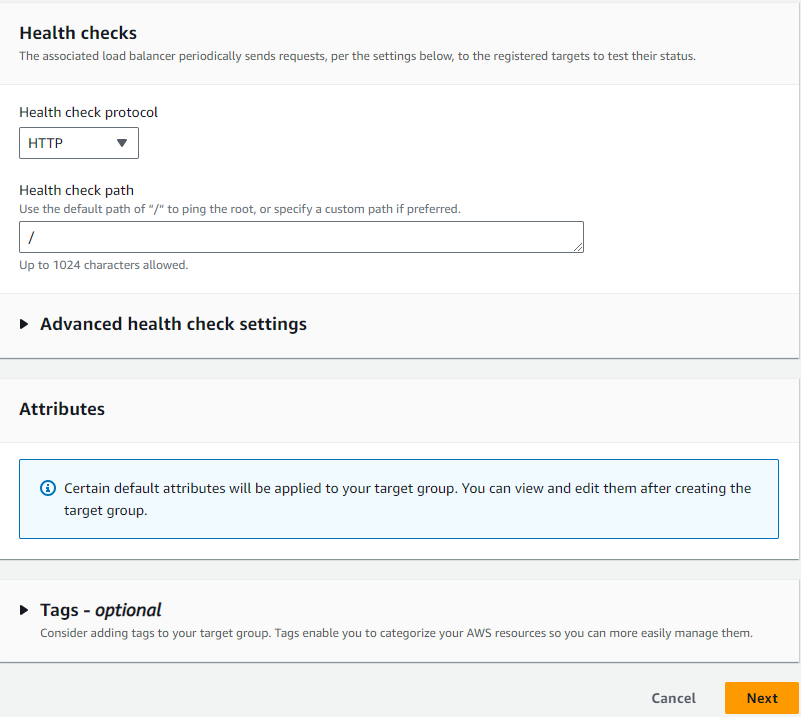
d. Click on the Next button
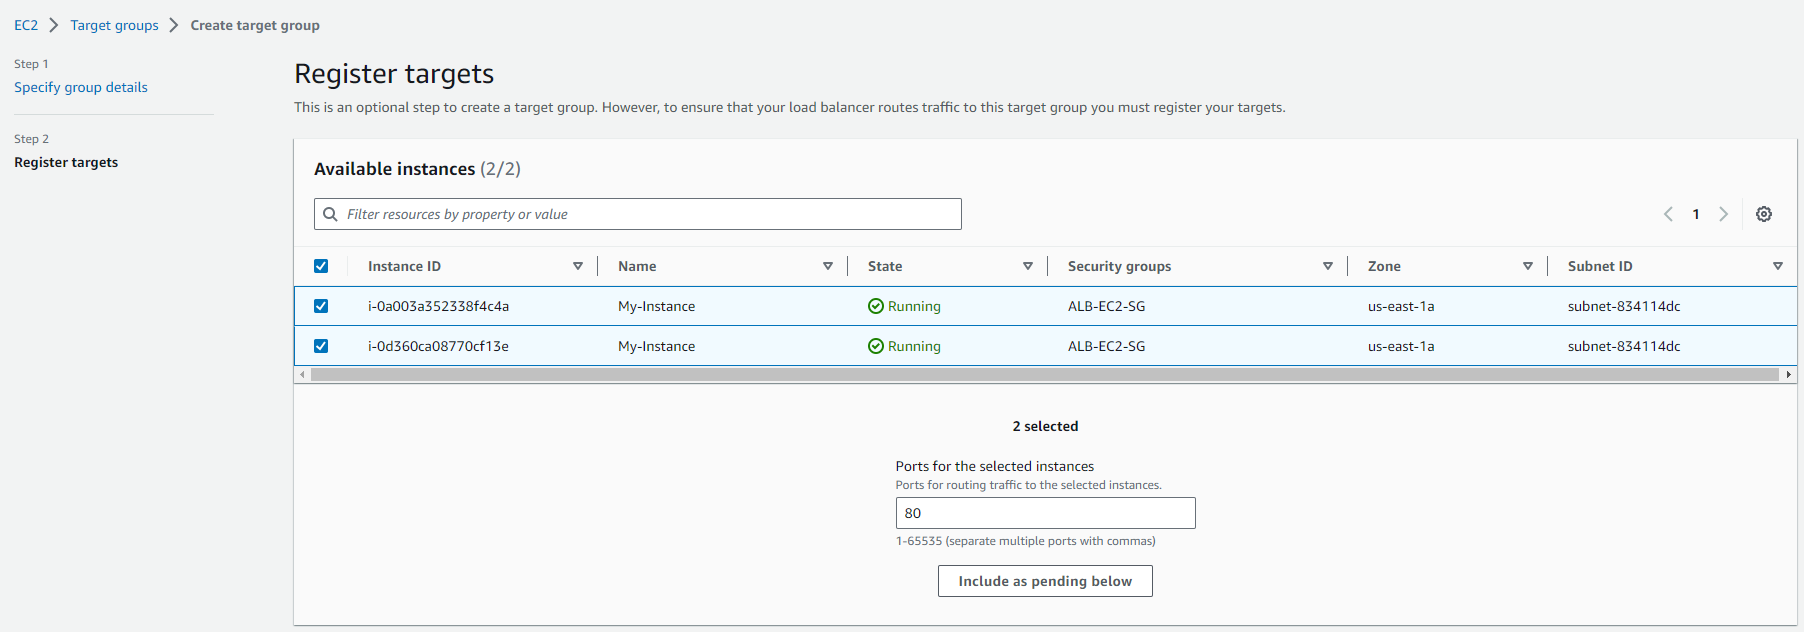
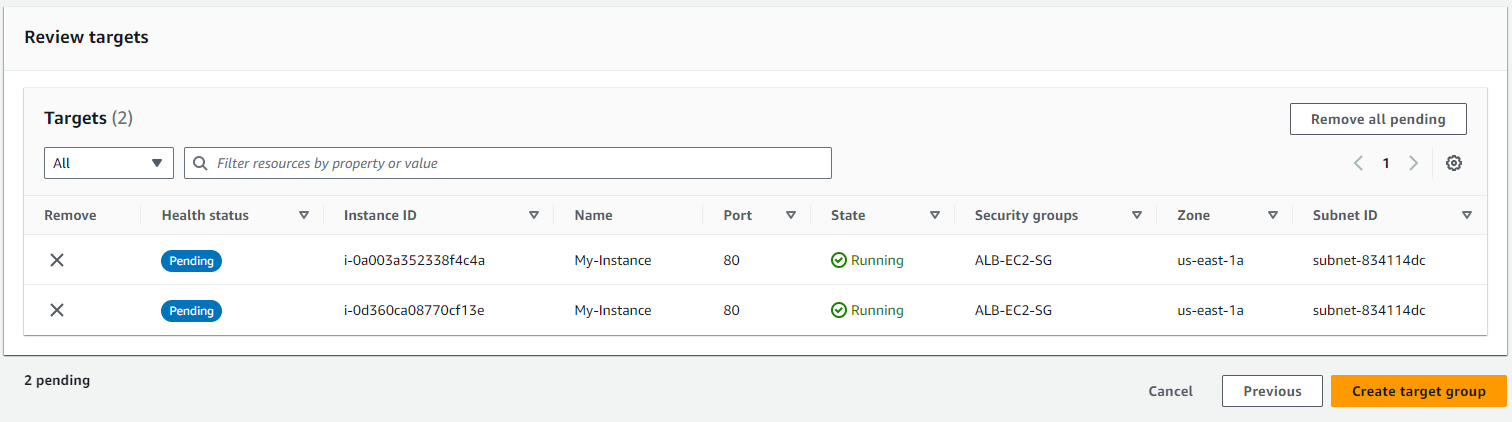
e. In the Regster Targets section, add both the instances and click on the “Include pending as below” button
f. Click on the “Create target group” button

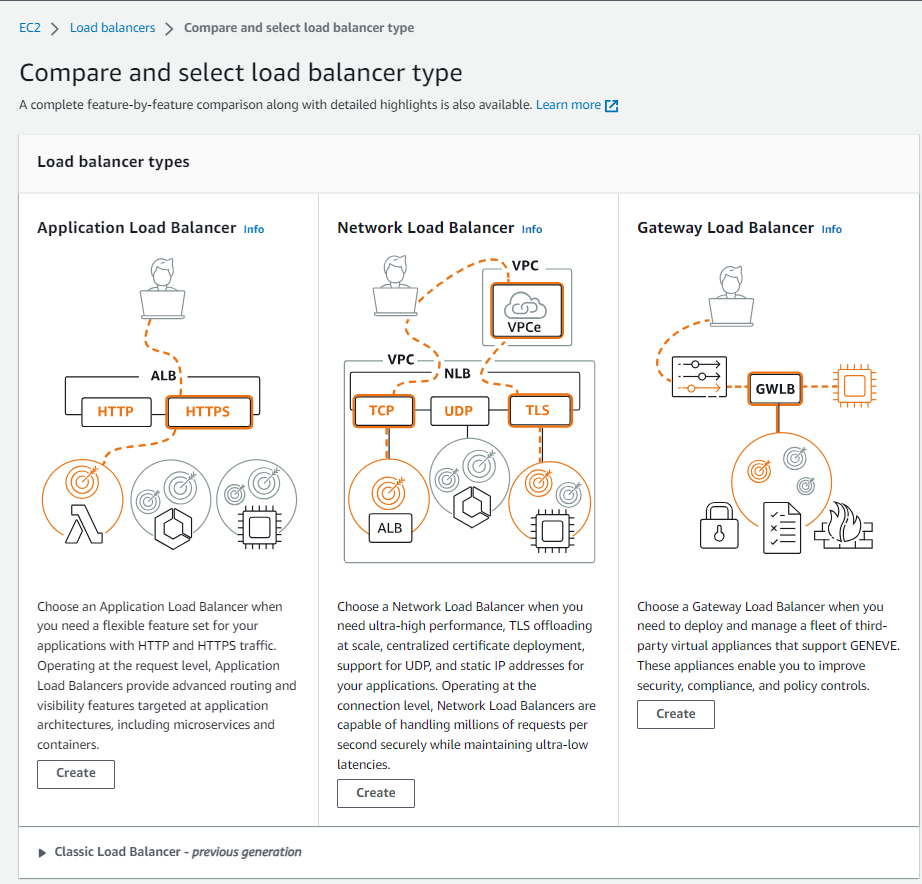
g. Now create load balancers by navigating to Load Balancing > Load Balancers and clicking on the “Create load balancer” button

h. Select Load Balancer Type: Under the Application Load Balancer, click on Create Button.
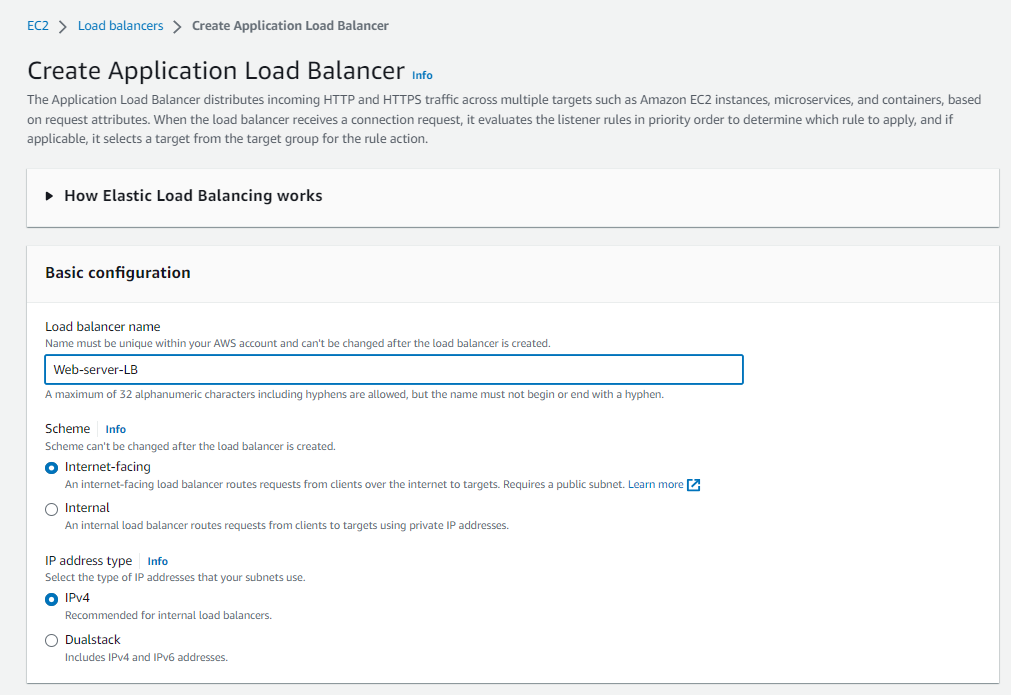
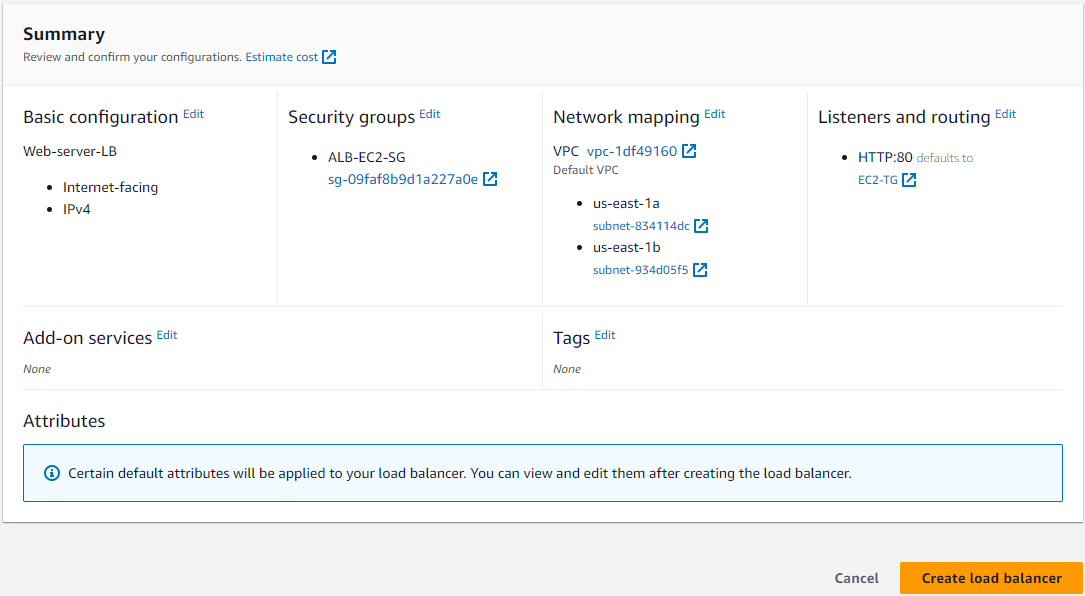
i. for the Basic configuration, use the following details
- Name: Enter Web-server-LB
- Scheme: Select Internet-facing
- IP address type: Choose IPv4
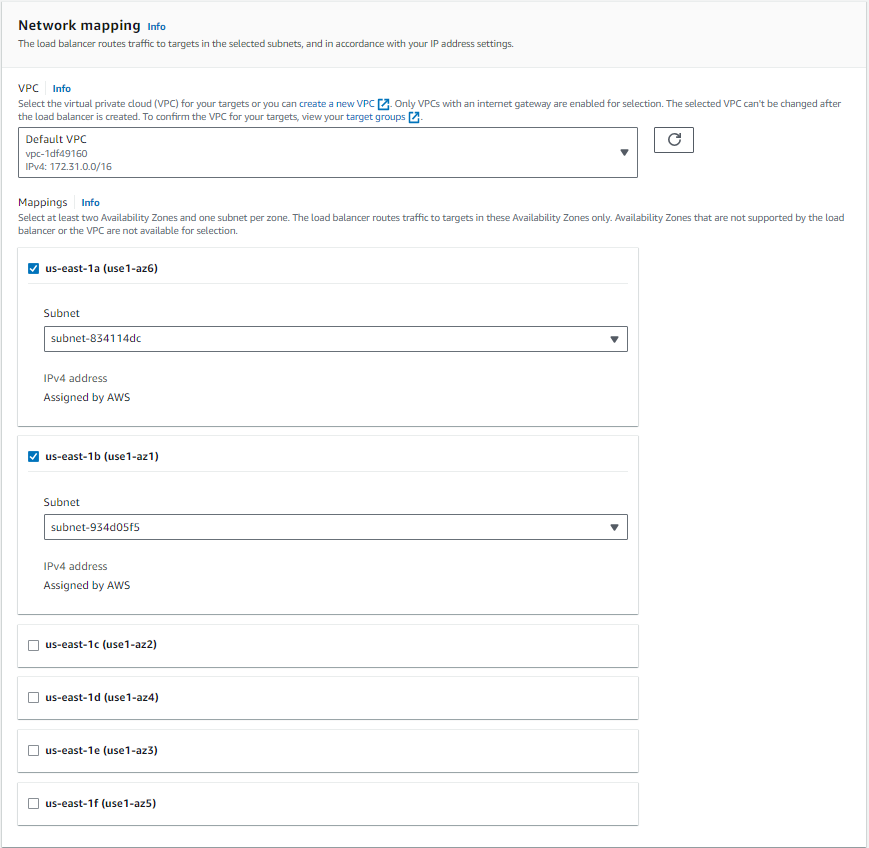
j. under the Network mapping section, select Default VPC and AZ us-east-1a and us-east-1b
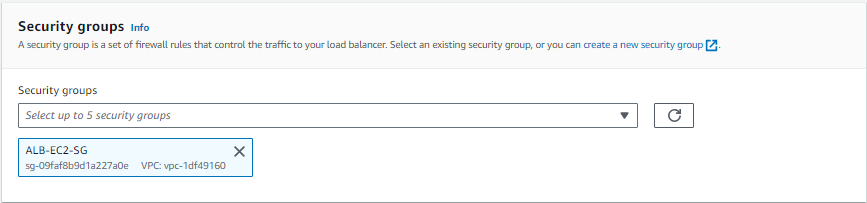
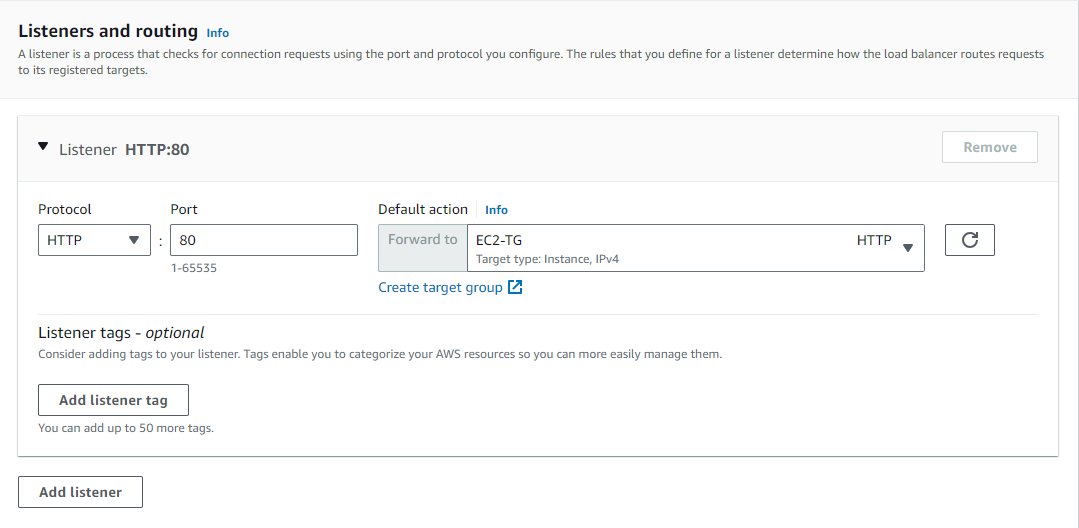
k. Select ALB-EC2-SG as the security group and default action forward to EC2-TG
l. Review the Summary section and click on the “Create load balancer” button
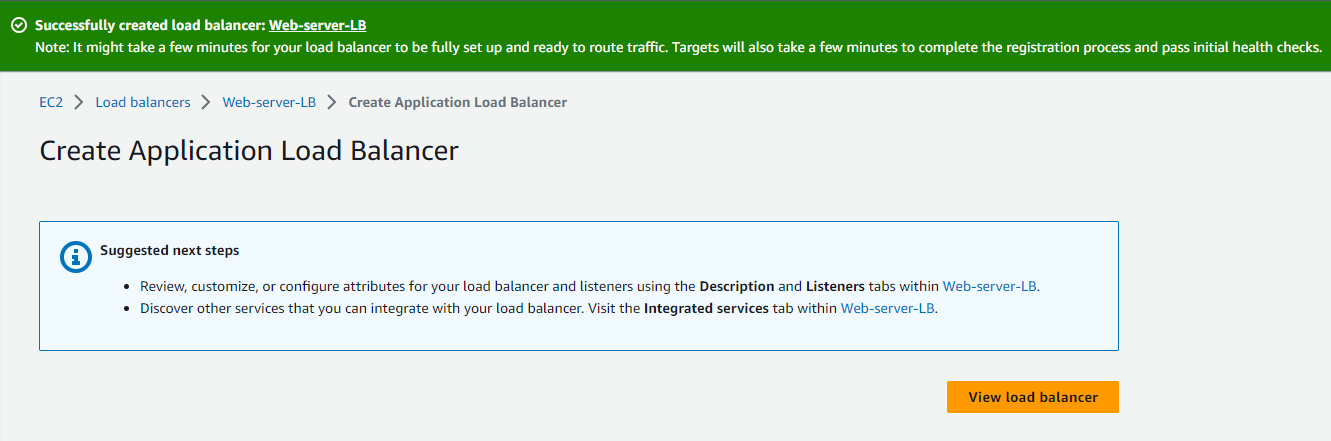
m. Wait for the load balancer to become active.
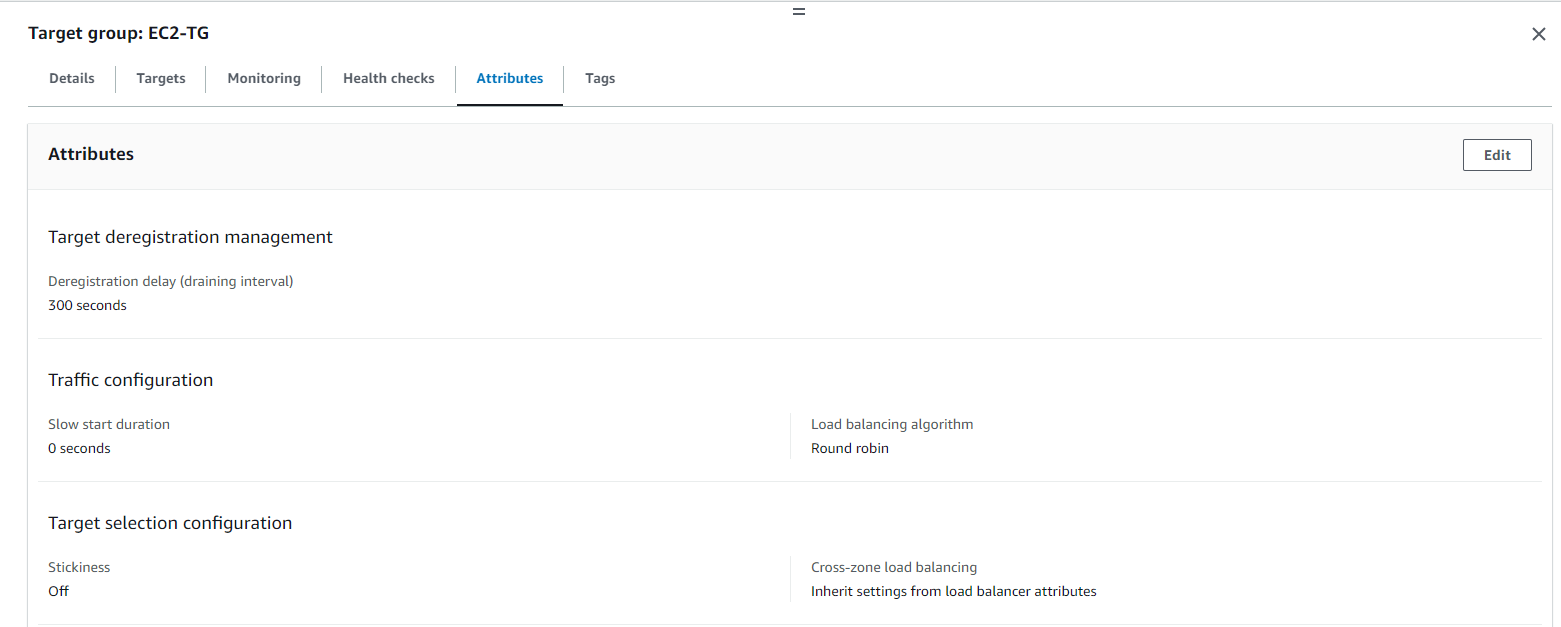
Step 4. Enable stickiness by modifying the Target Group attribute
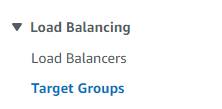
a. Navigate to Load Balancing > Target Groups
b. Select Attributes tab and click on the Edit button.
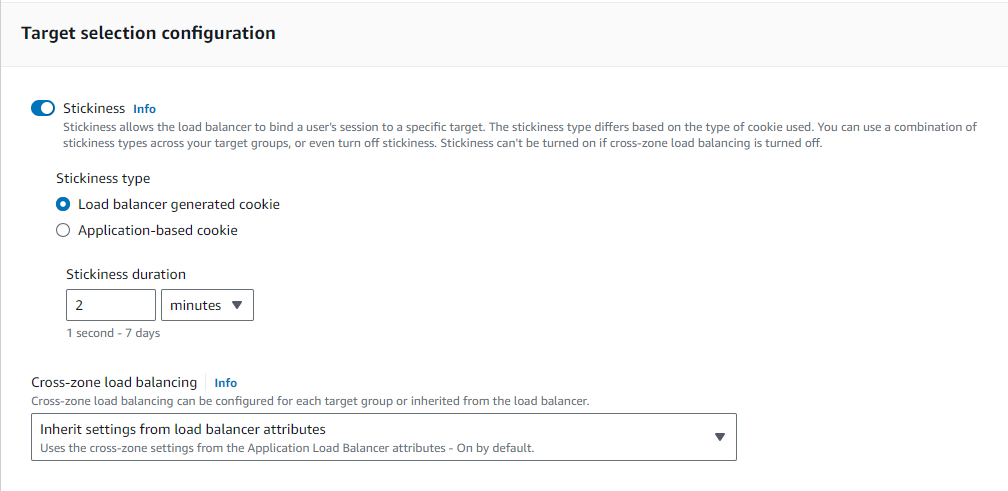
c. In the Target selection configuration, toggle “Stickiness” button to on and set Stickiness duration to 2 minutes and save.
Step 5. Testing the stickiness
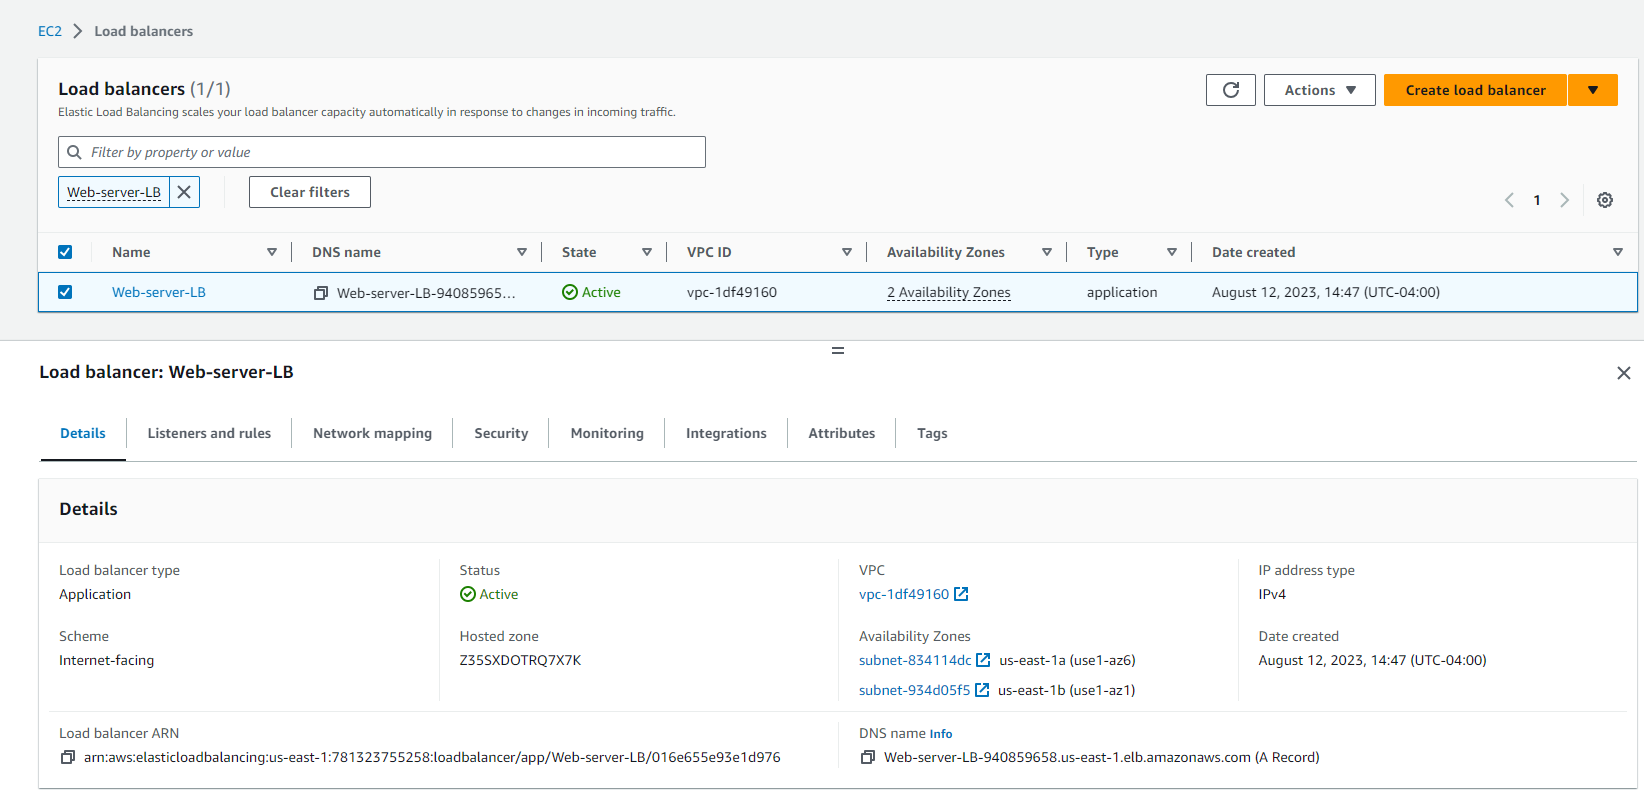
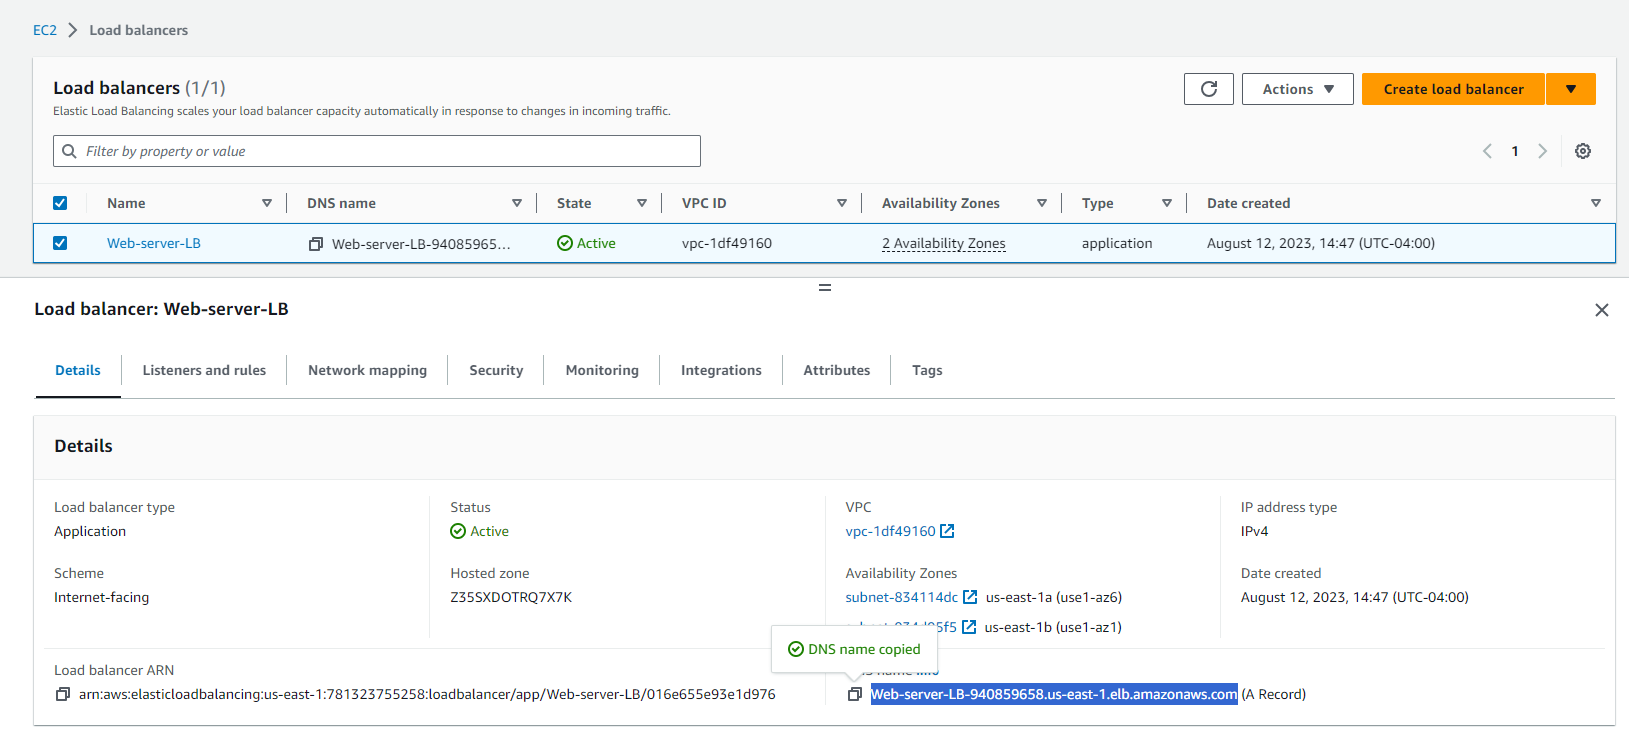
a. Navigate to Load Balancing > Load Balancers
b. Select the Load balancer and copy the DNS name of your load balancer, and paste it into the browser.

c. After 2 minutes, it should be redirected to a new page.
